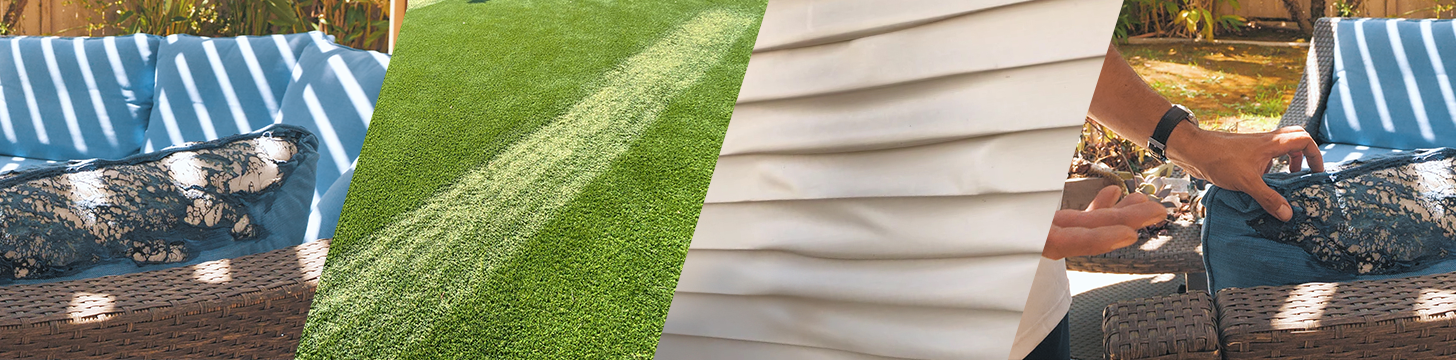
Protecting your home and outdoor spaces from the damaging effects of the sun and reflections can be a challenging task. With the increasing popularity of artificial turf, vinyl siding, and outdoor furniture, the risk of damage due to heat and reflection has become a significant concern for homeowners. Turf Shield Window Film offers an innovative solution to these problems, and the best part is, you can install it yourself! This step-by-step guide will take you through the process of installing your own Turf Shield Window Film to protect your turf, siding, patio furniture, car moldings, and more.
Understanding the Importance of Window Film
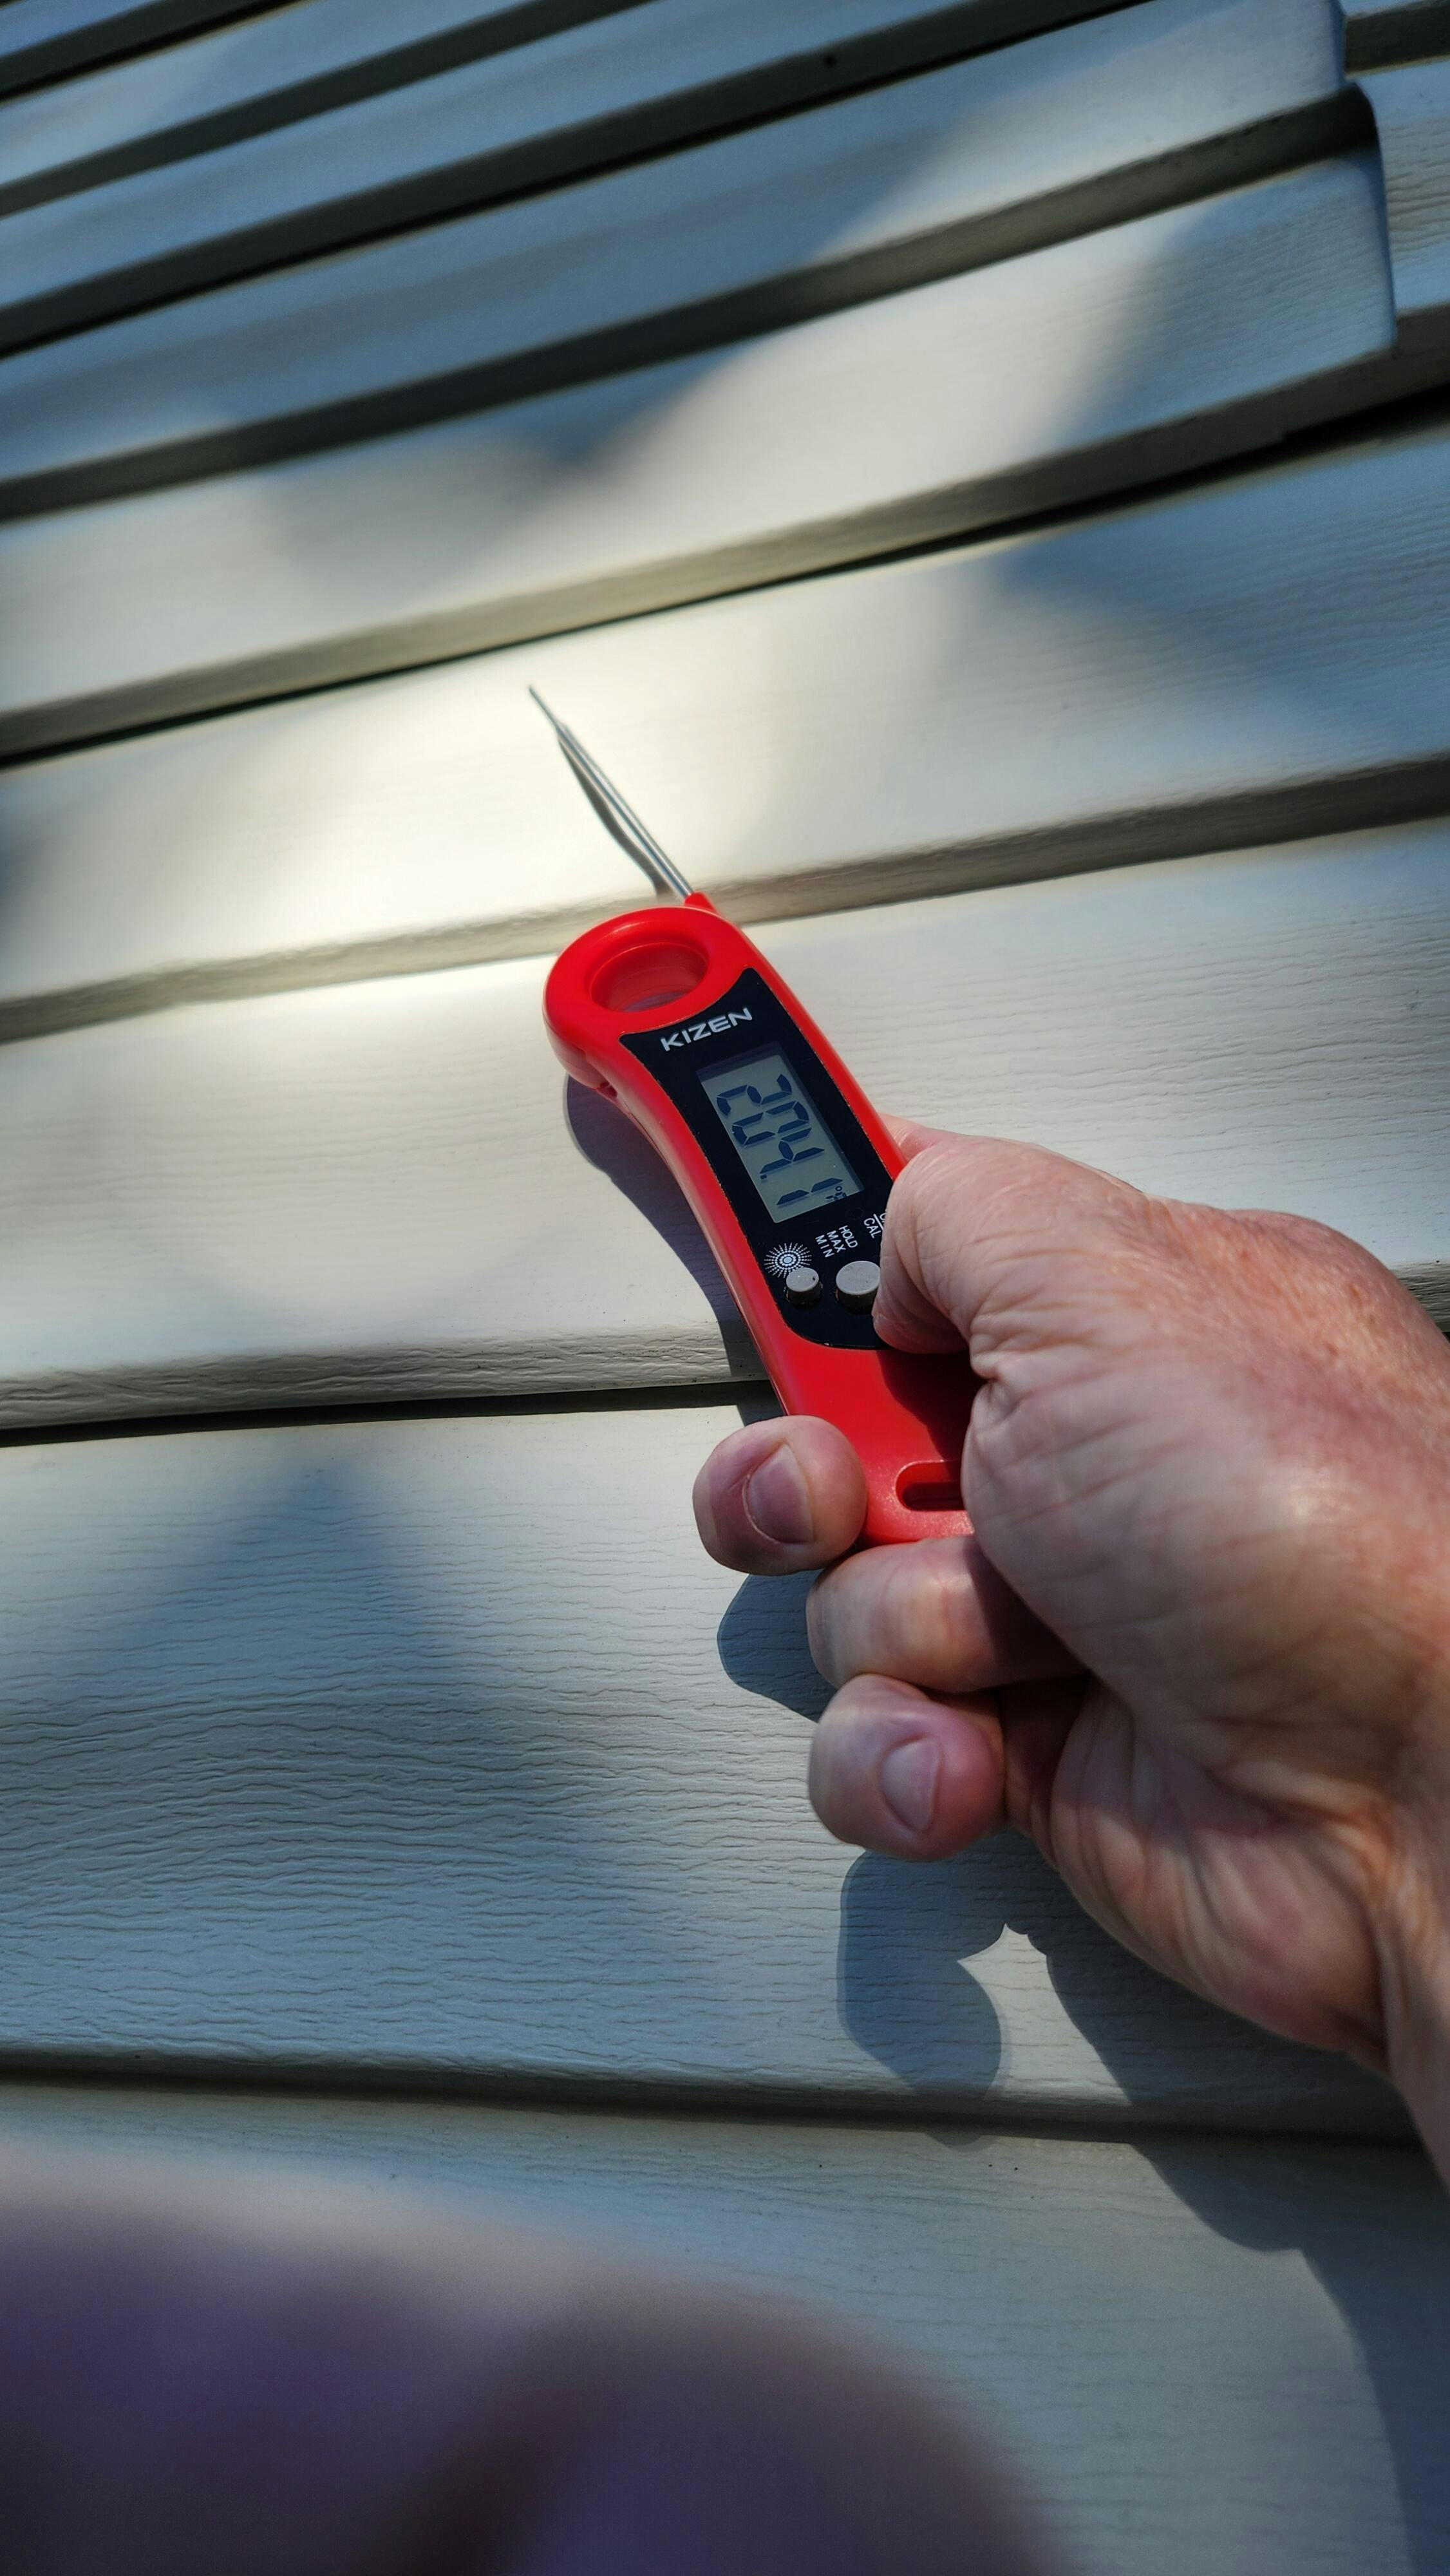
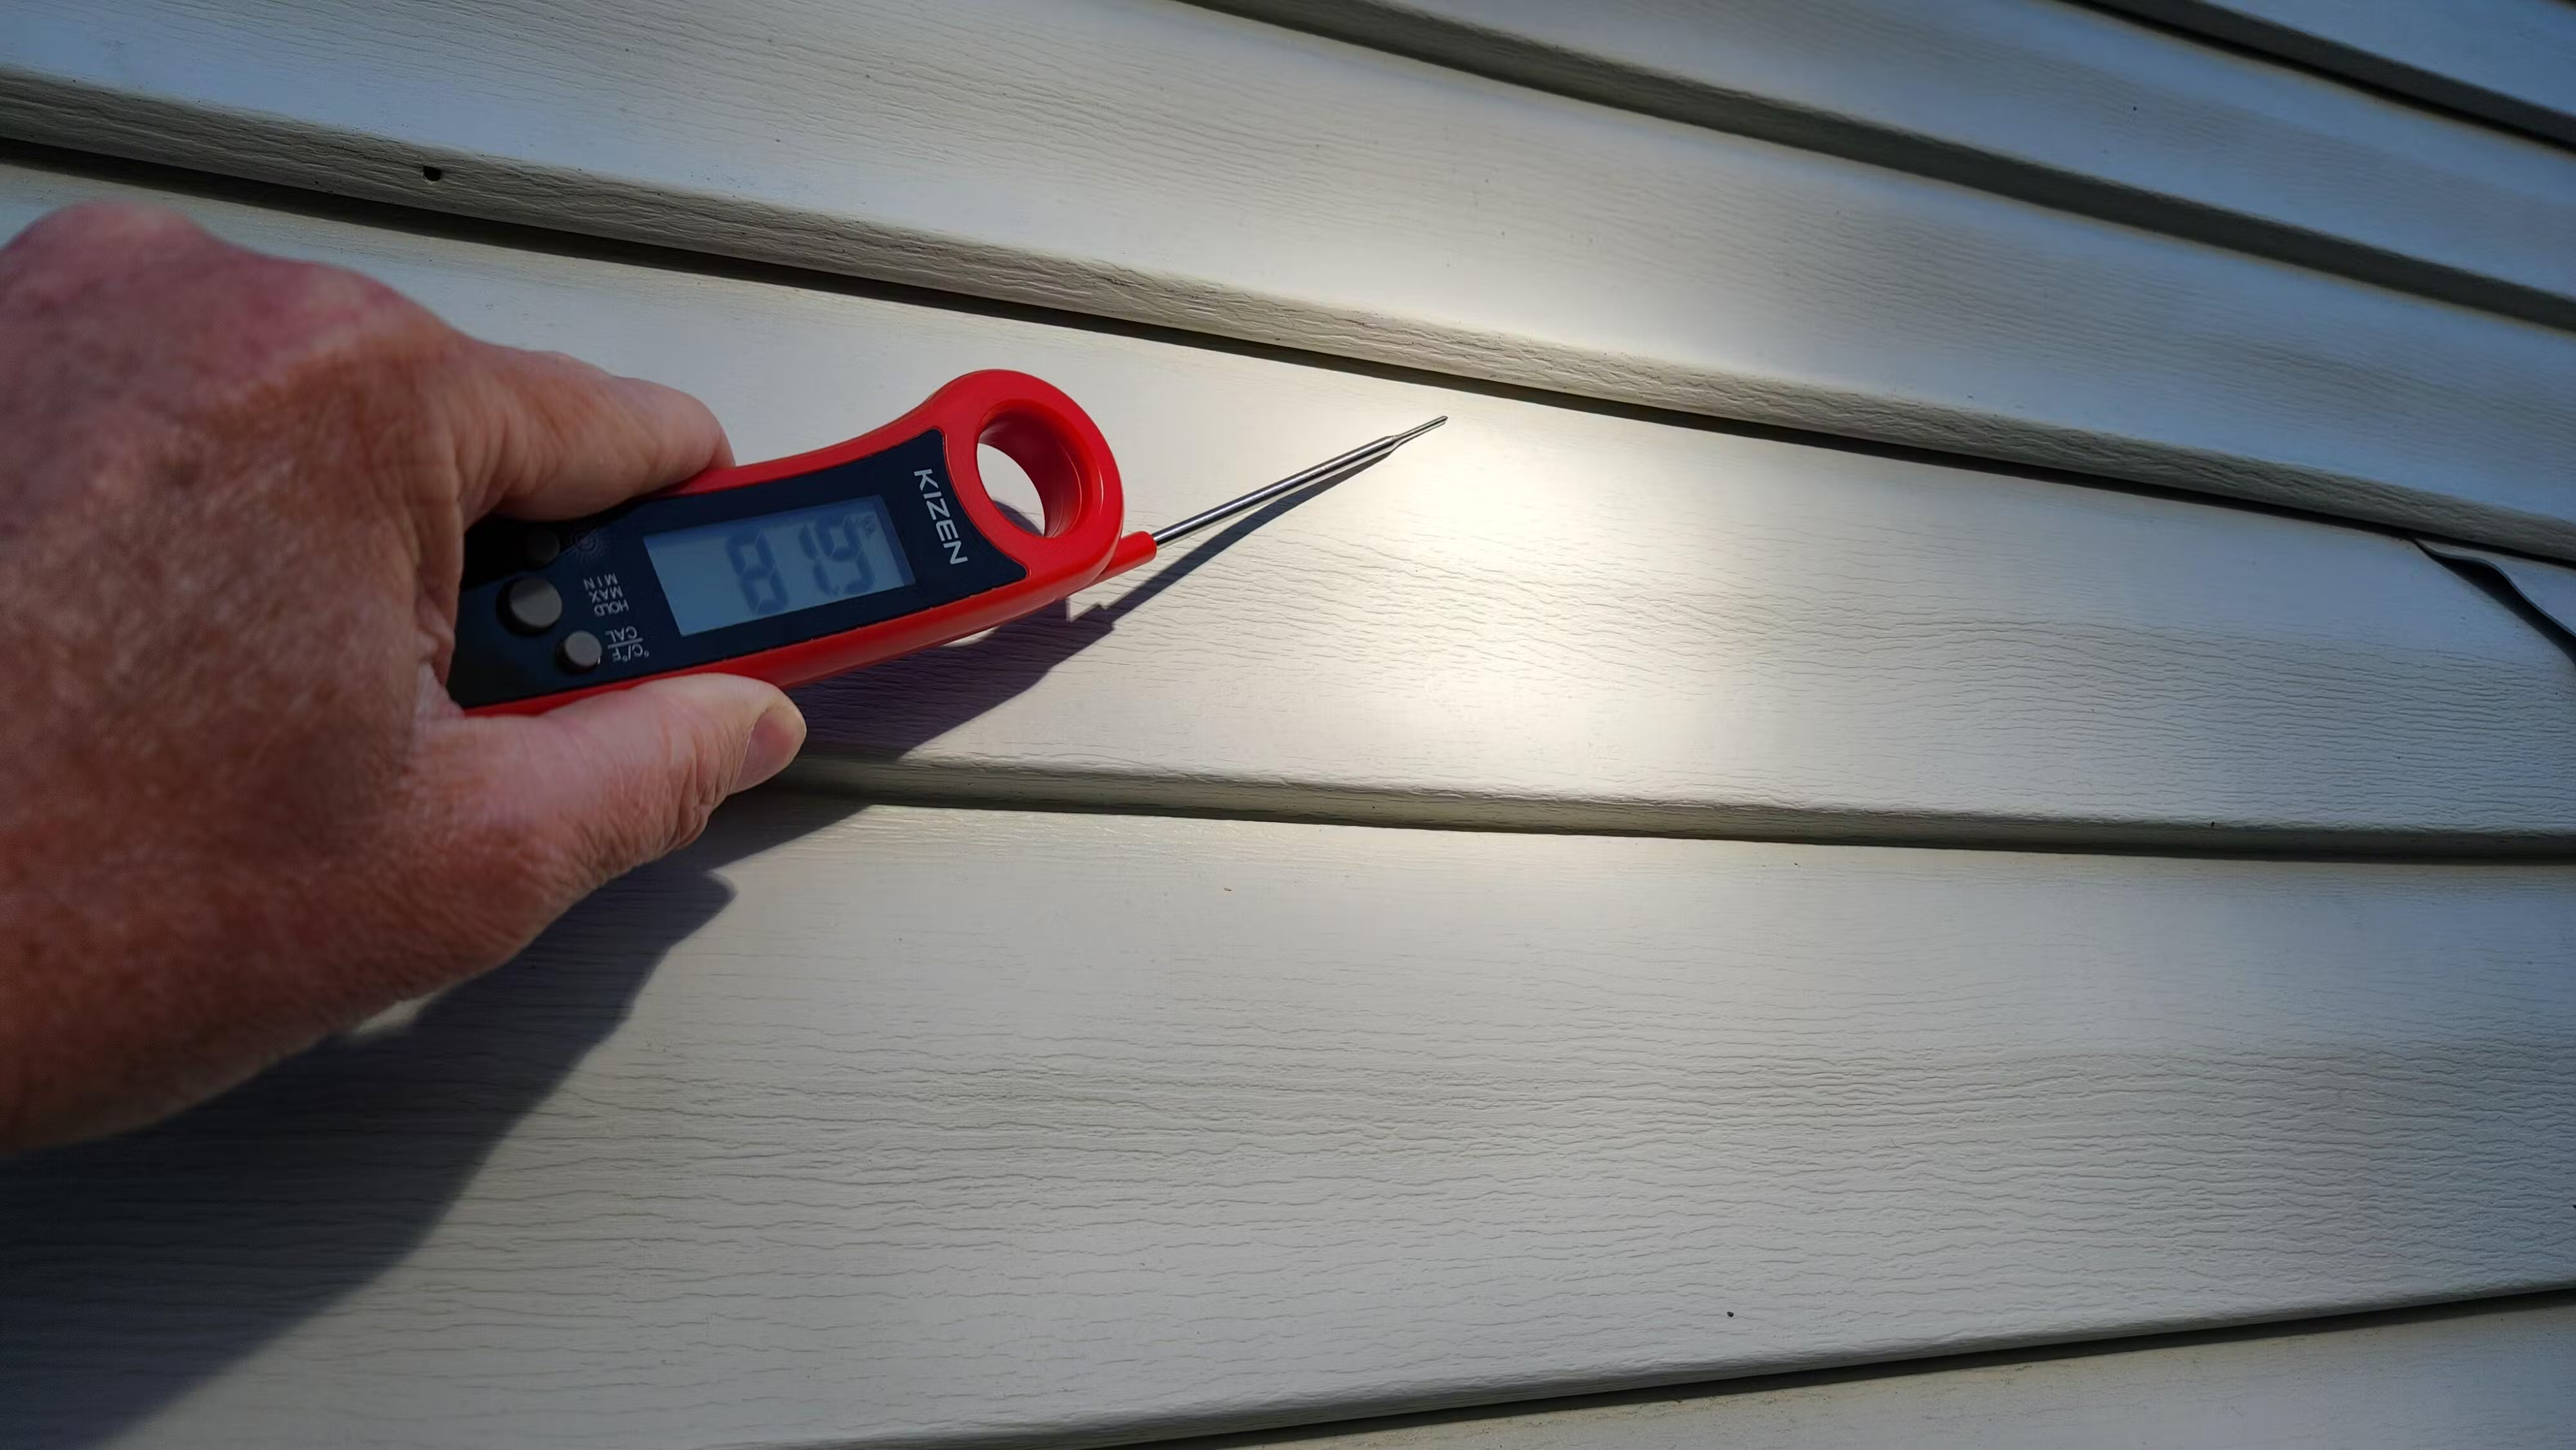
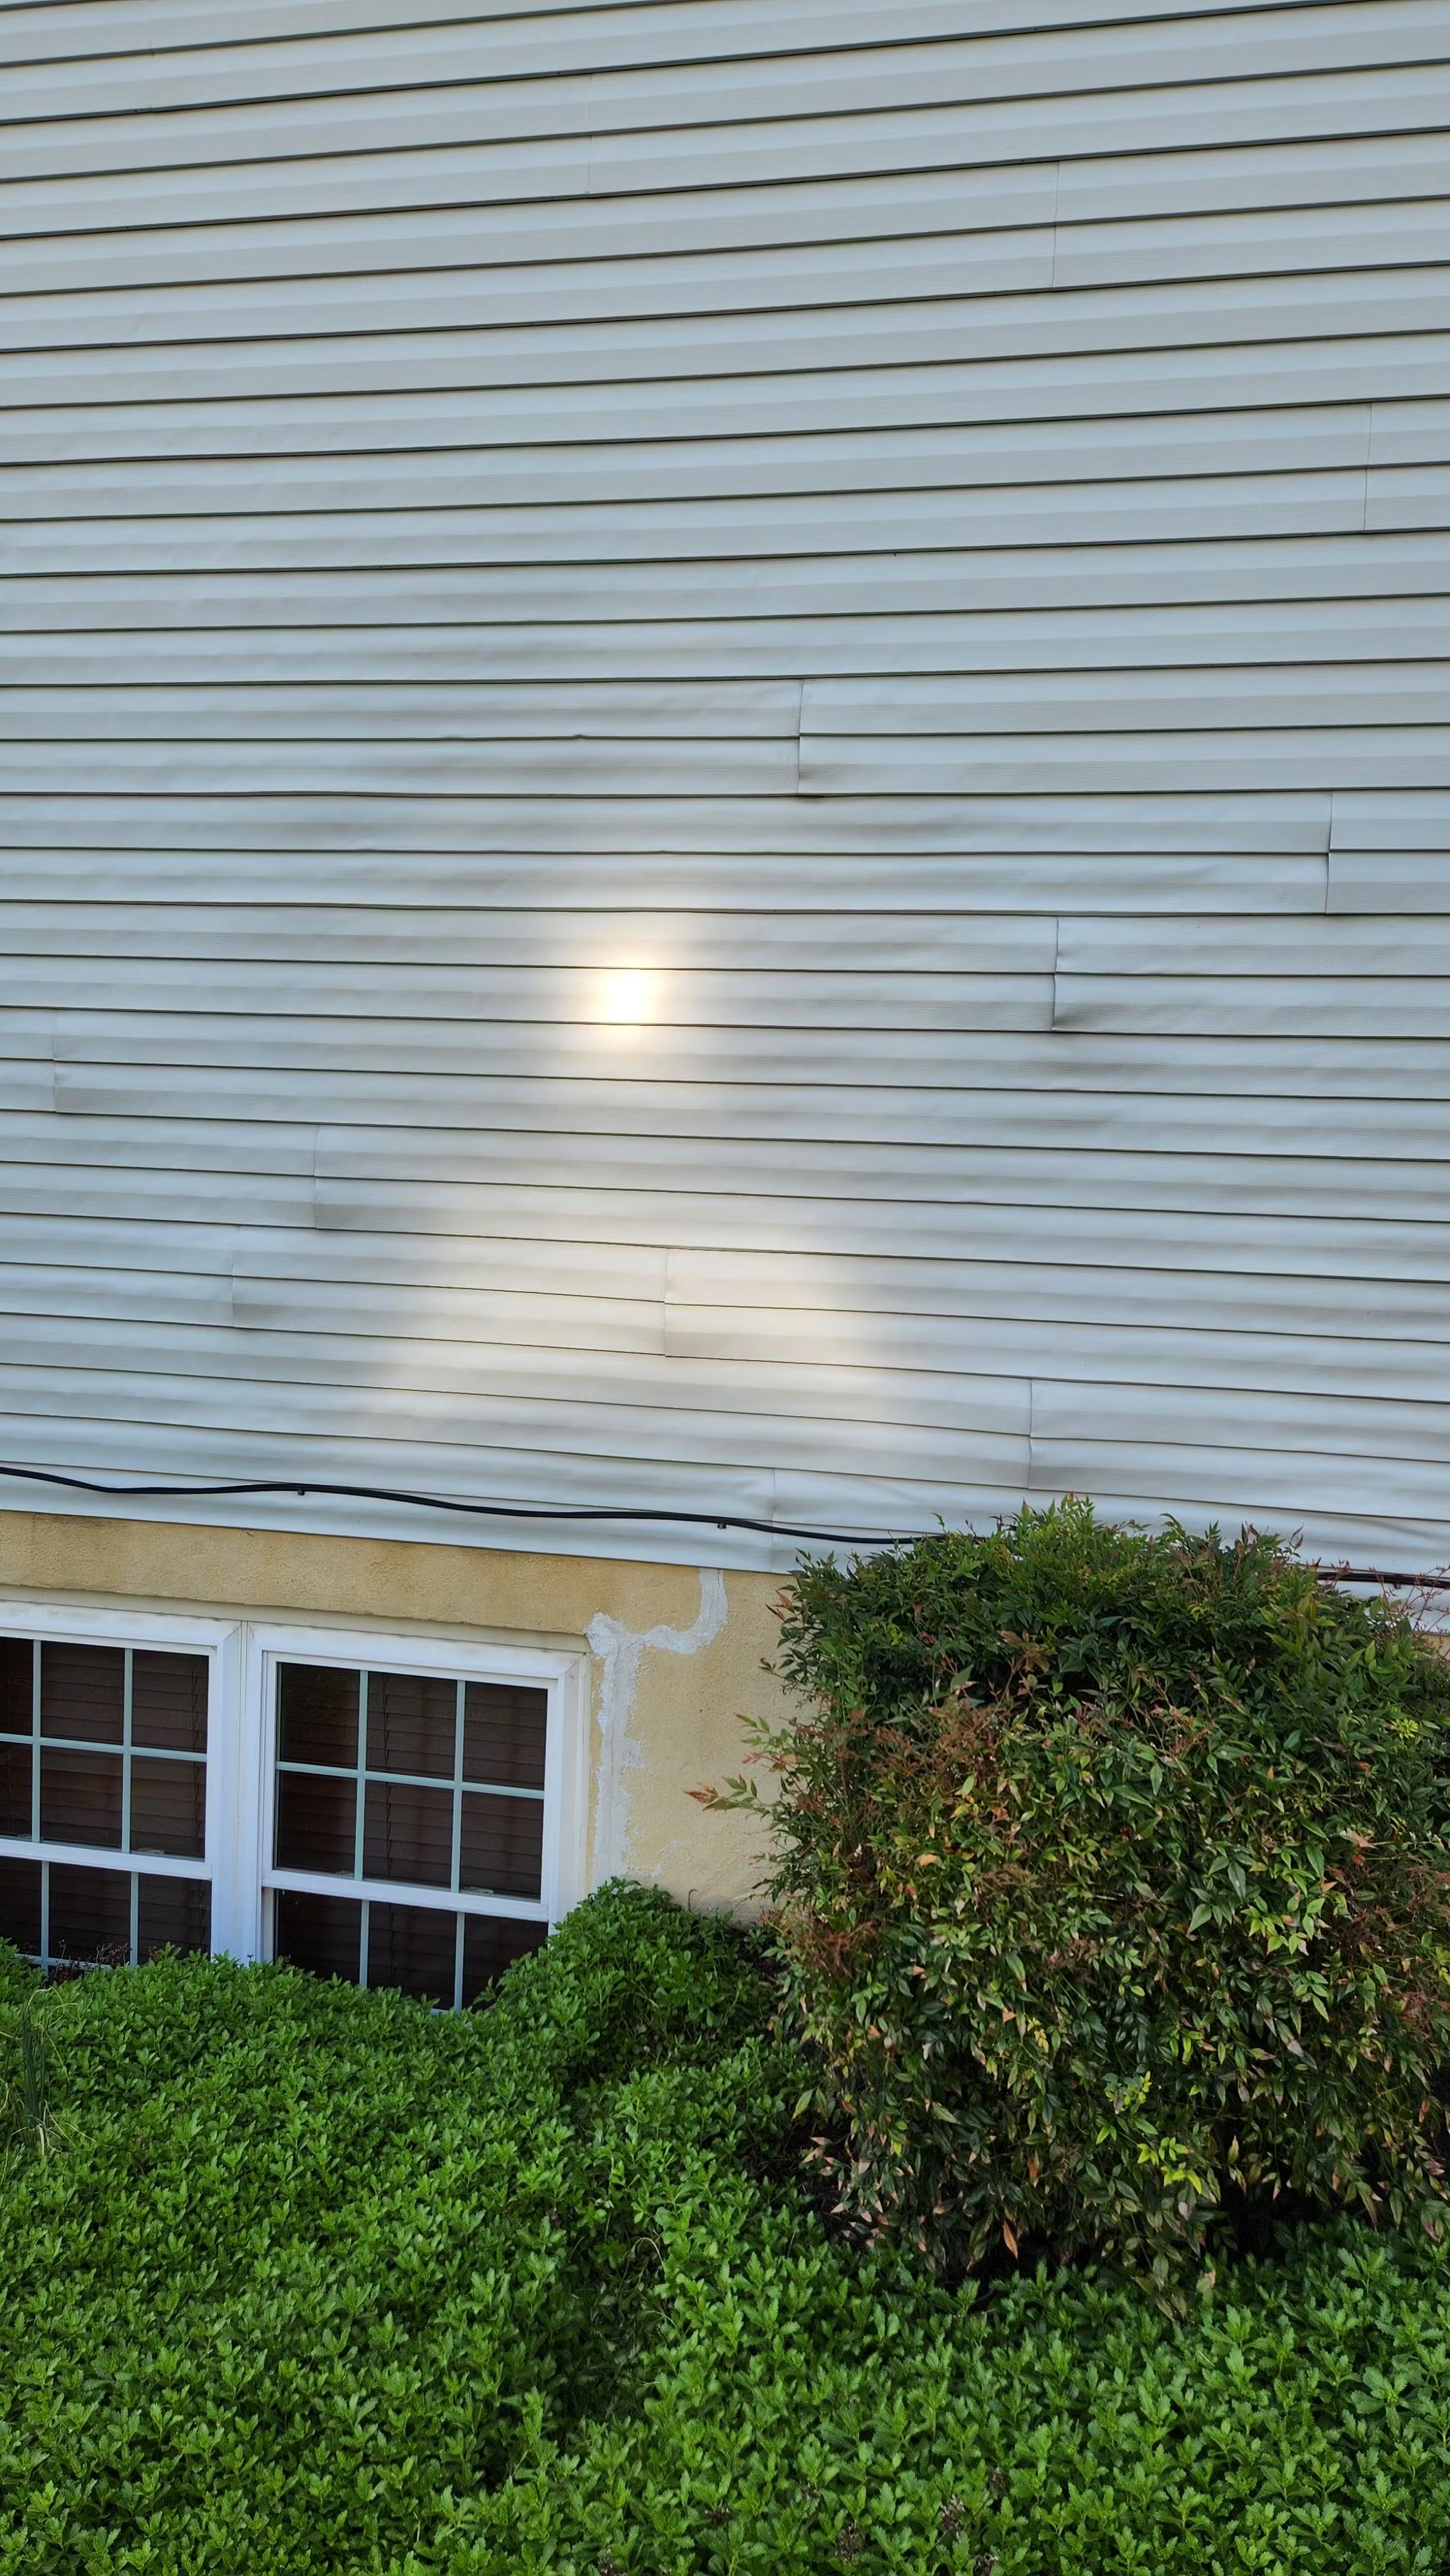
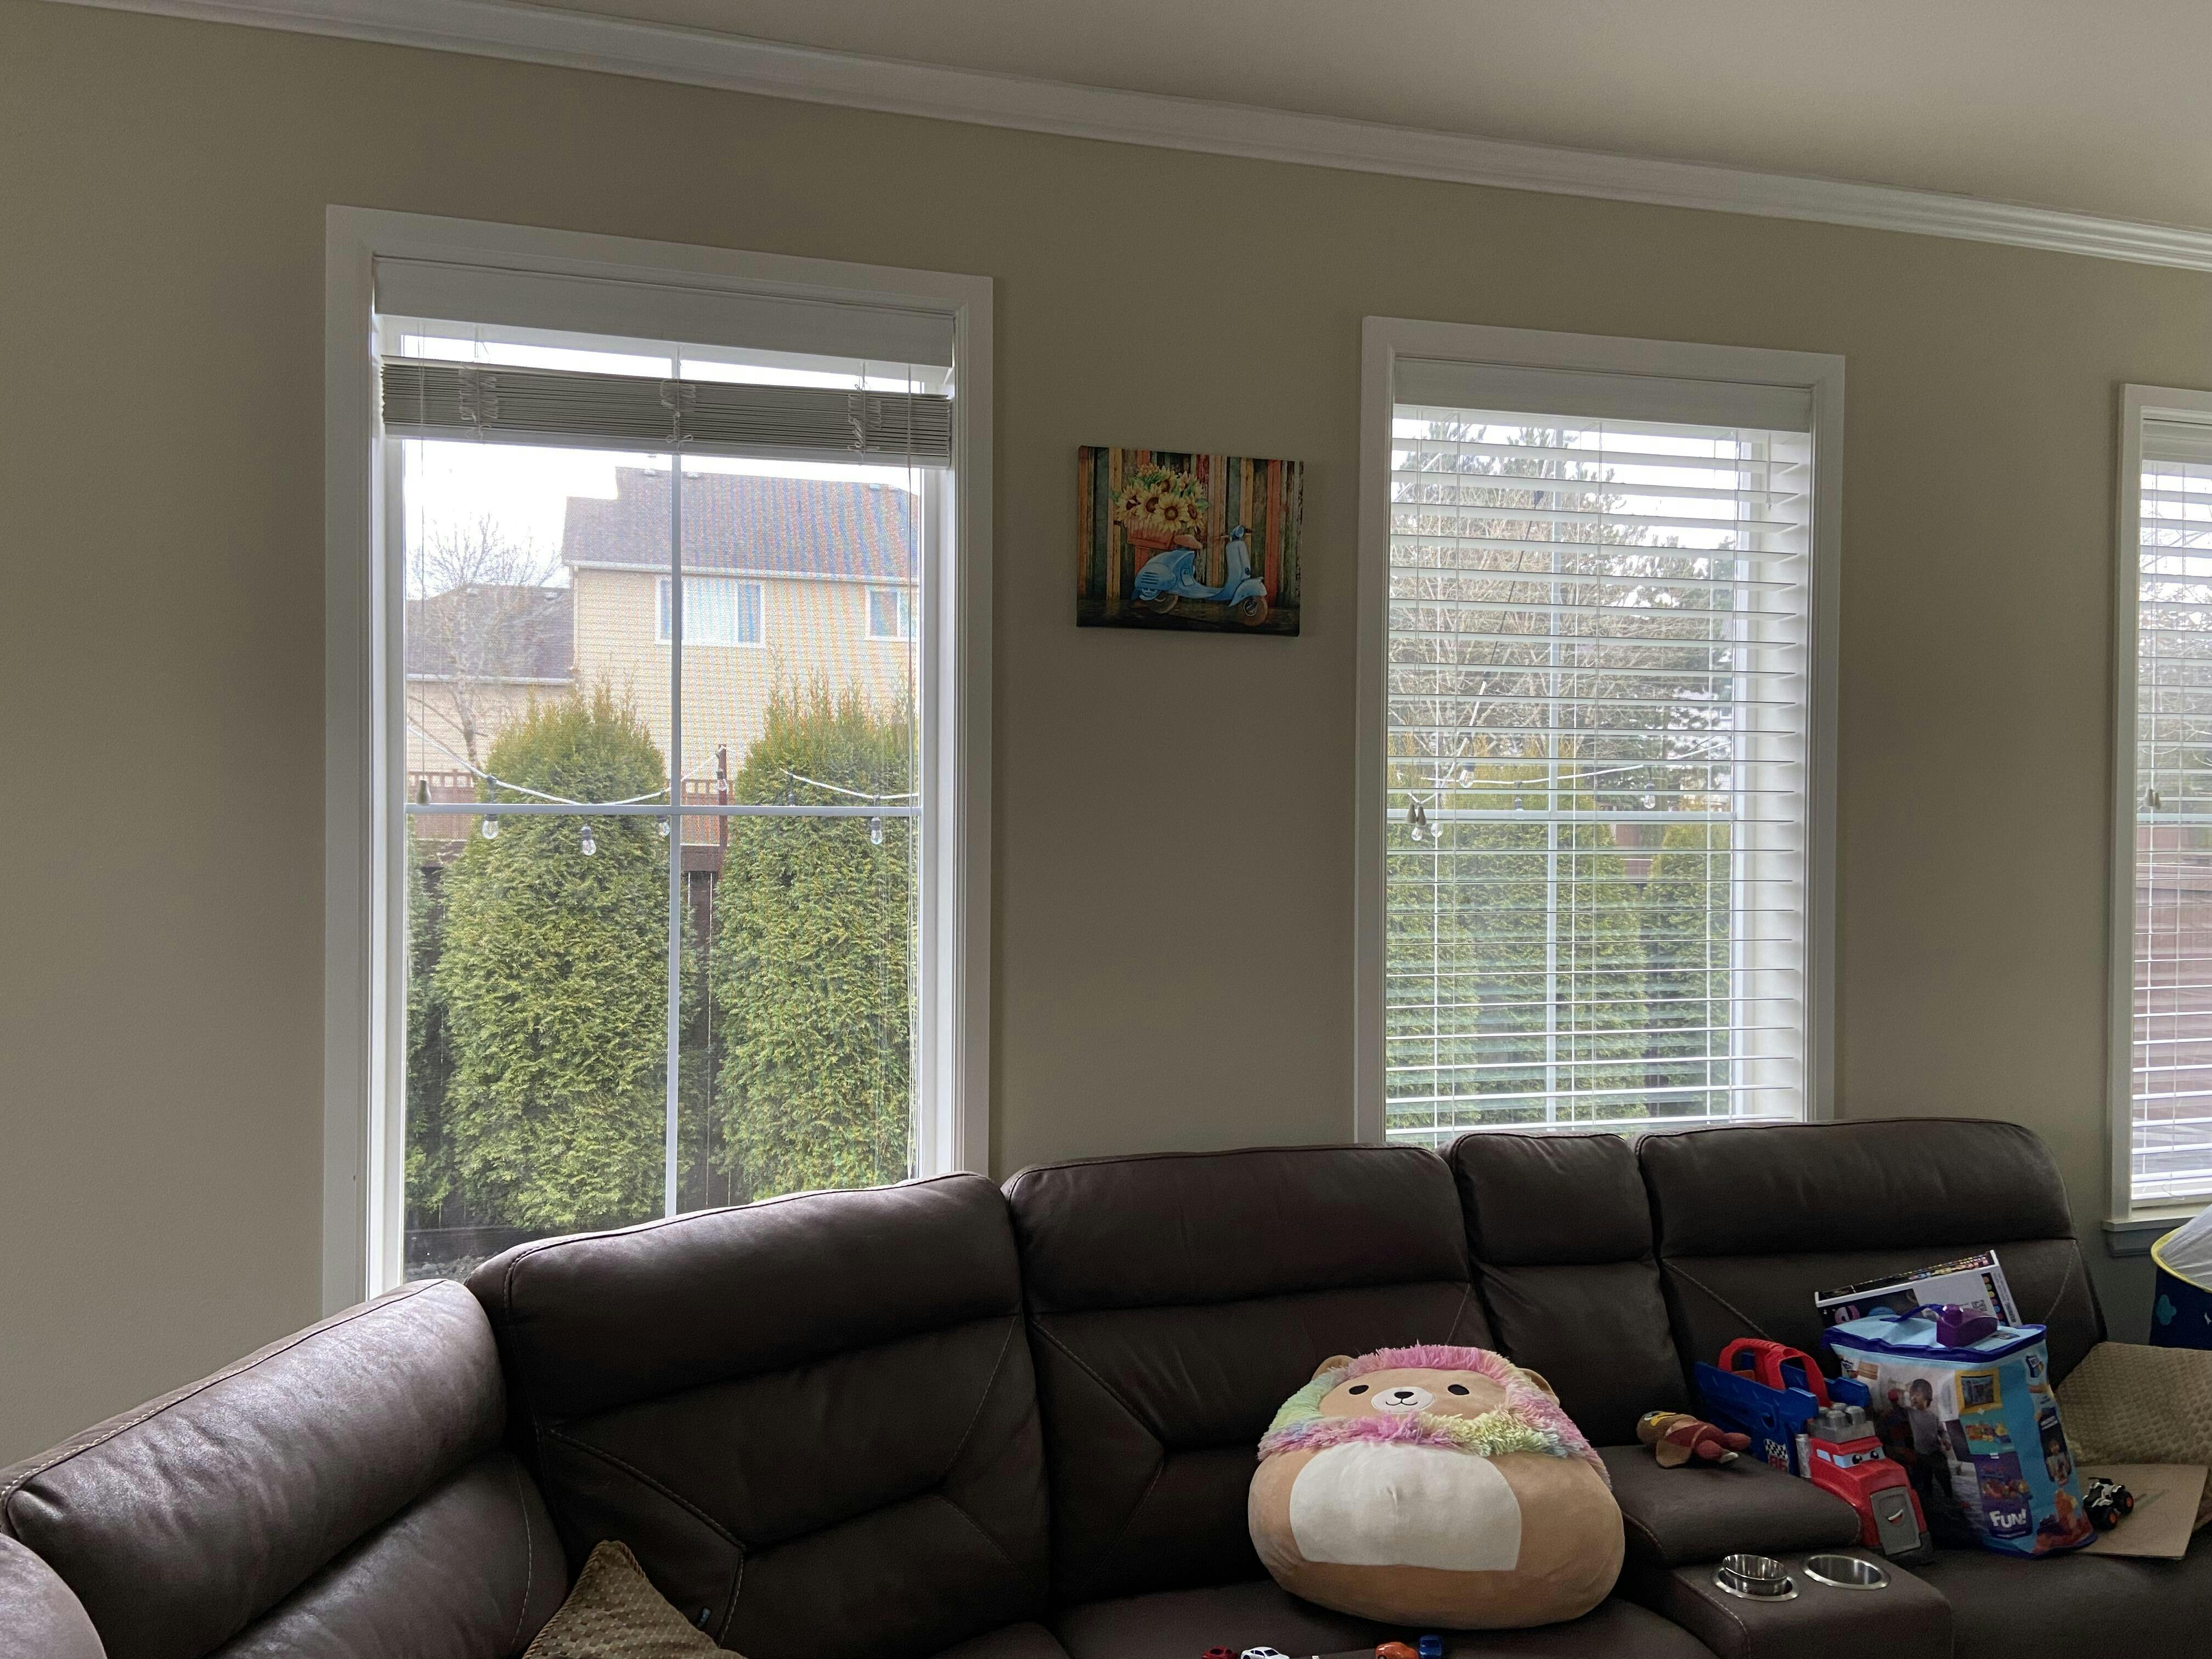
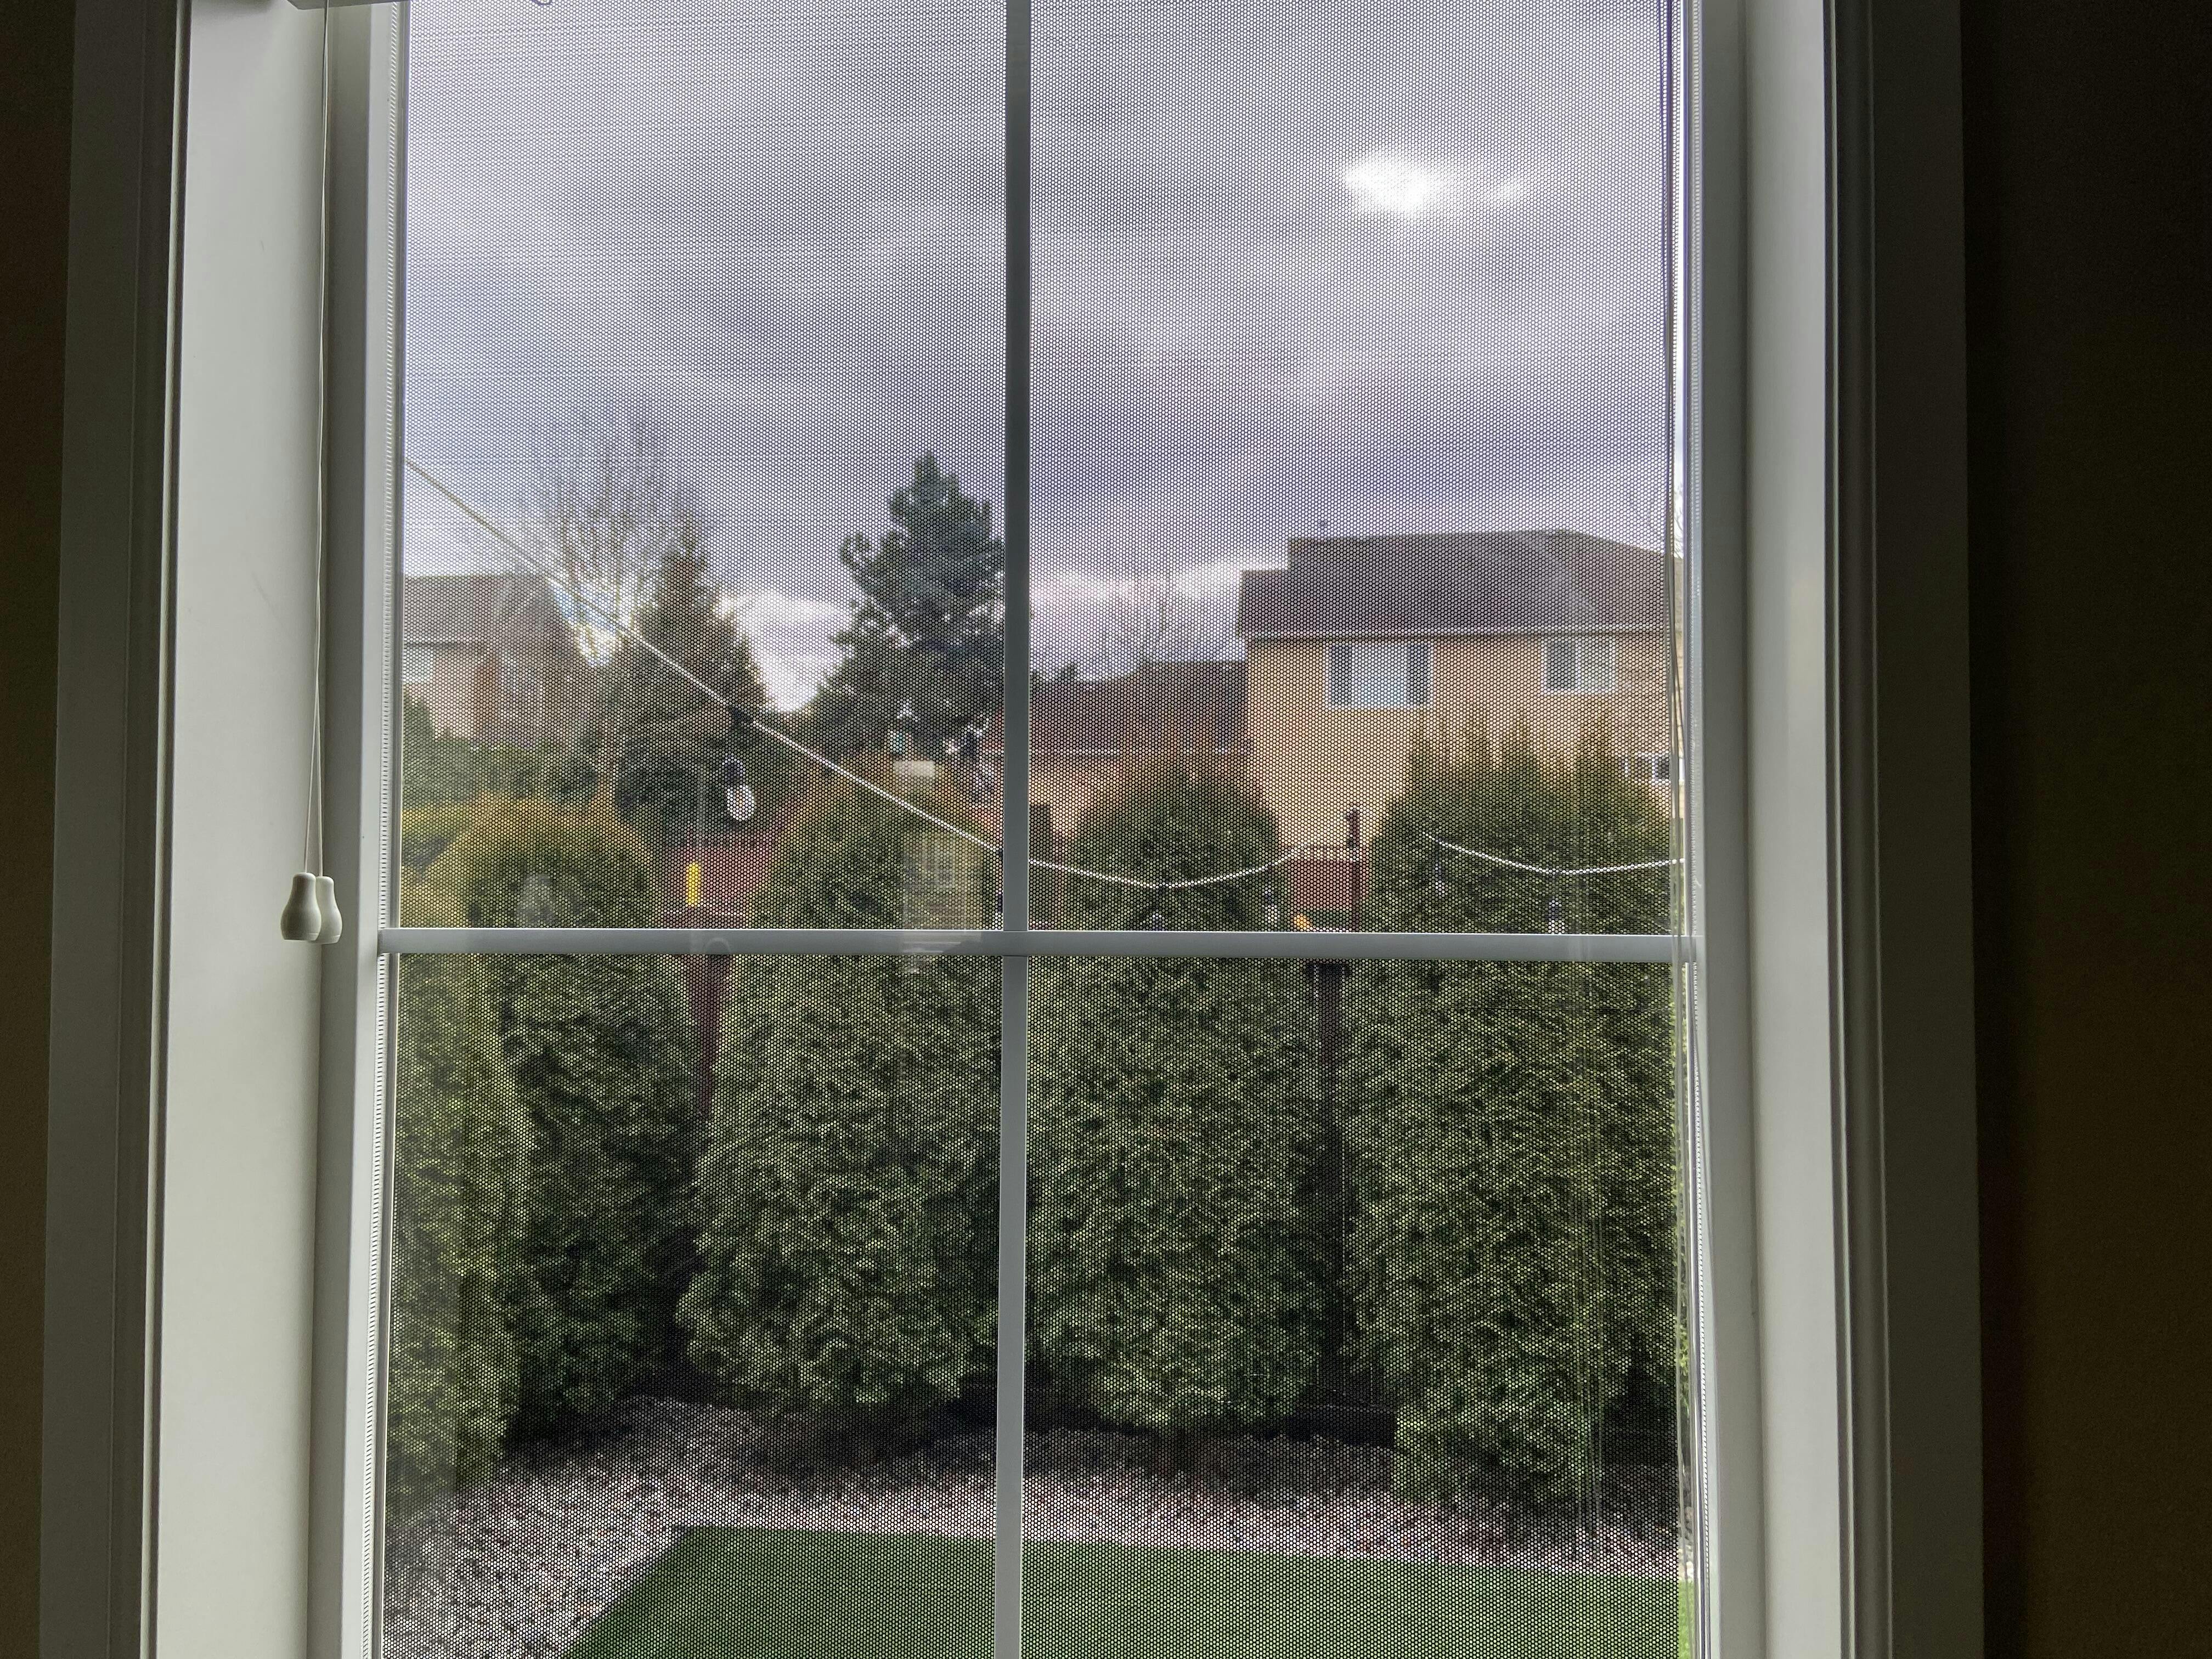
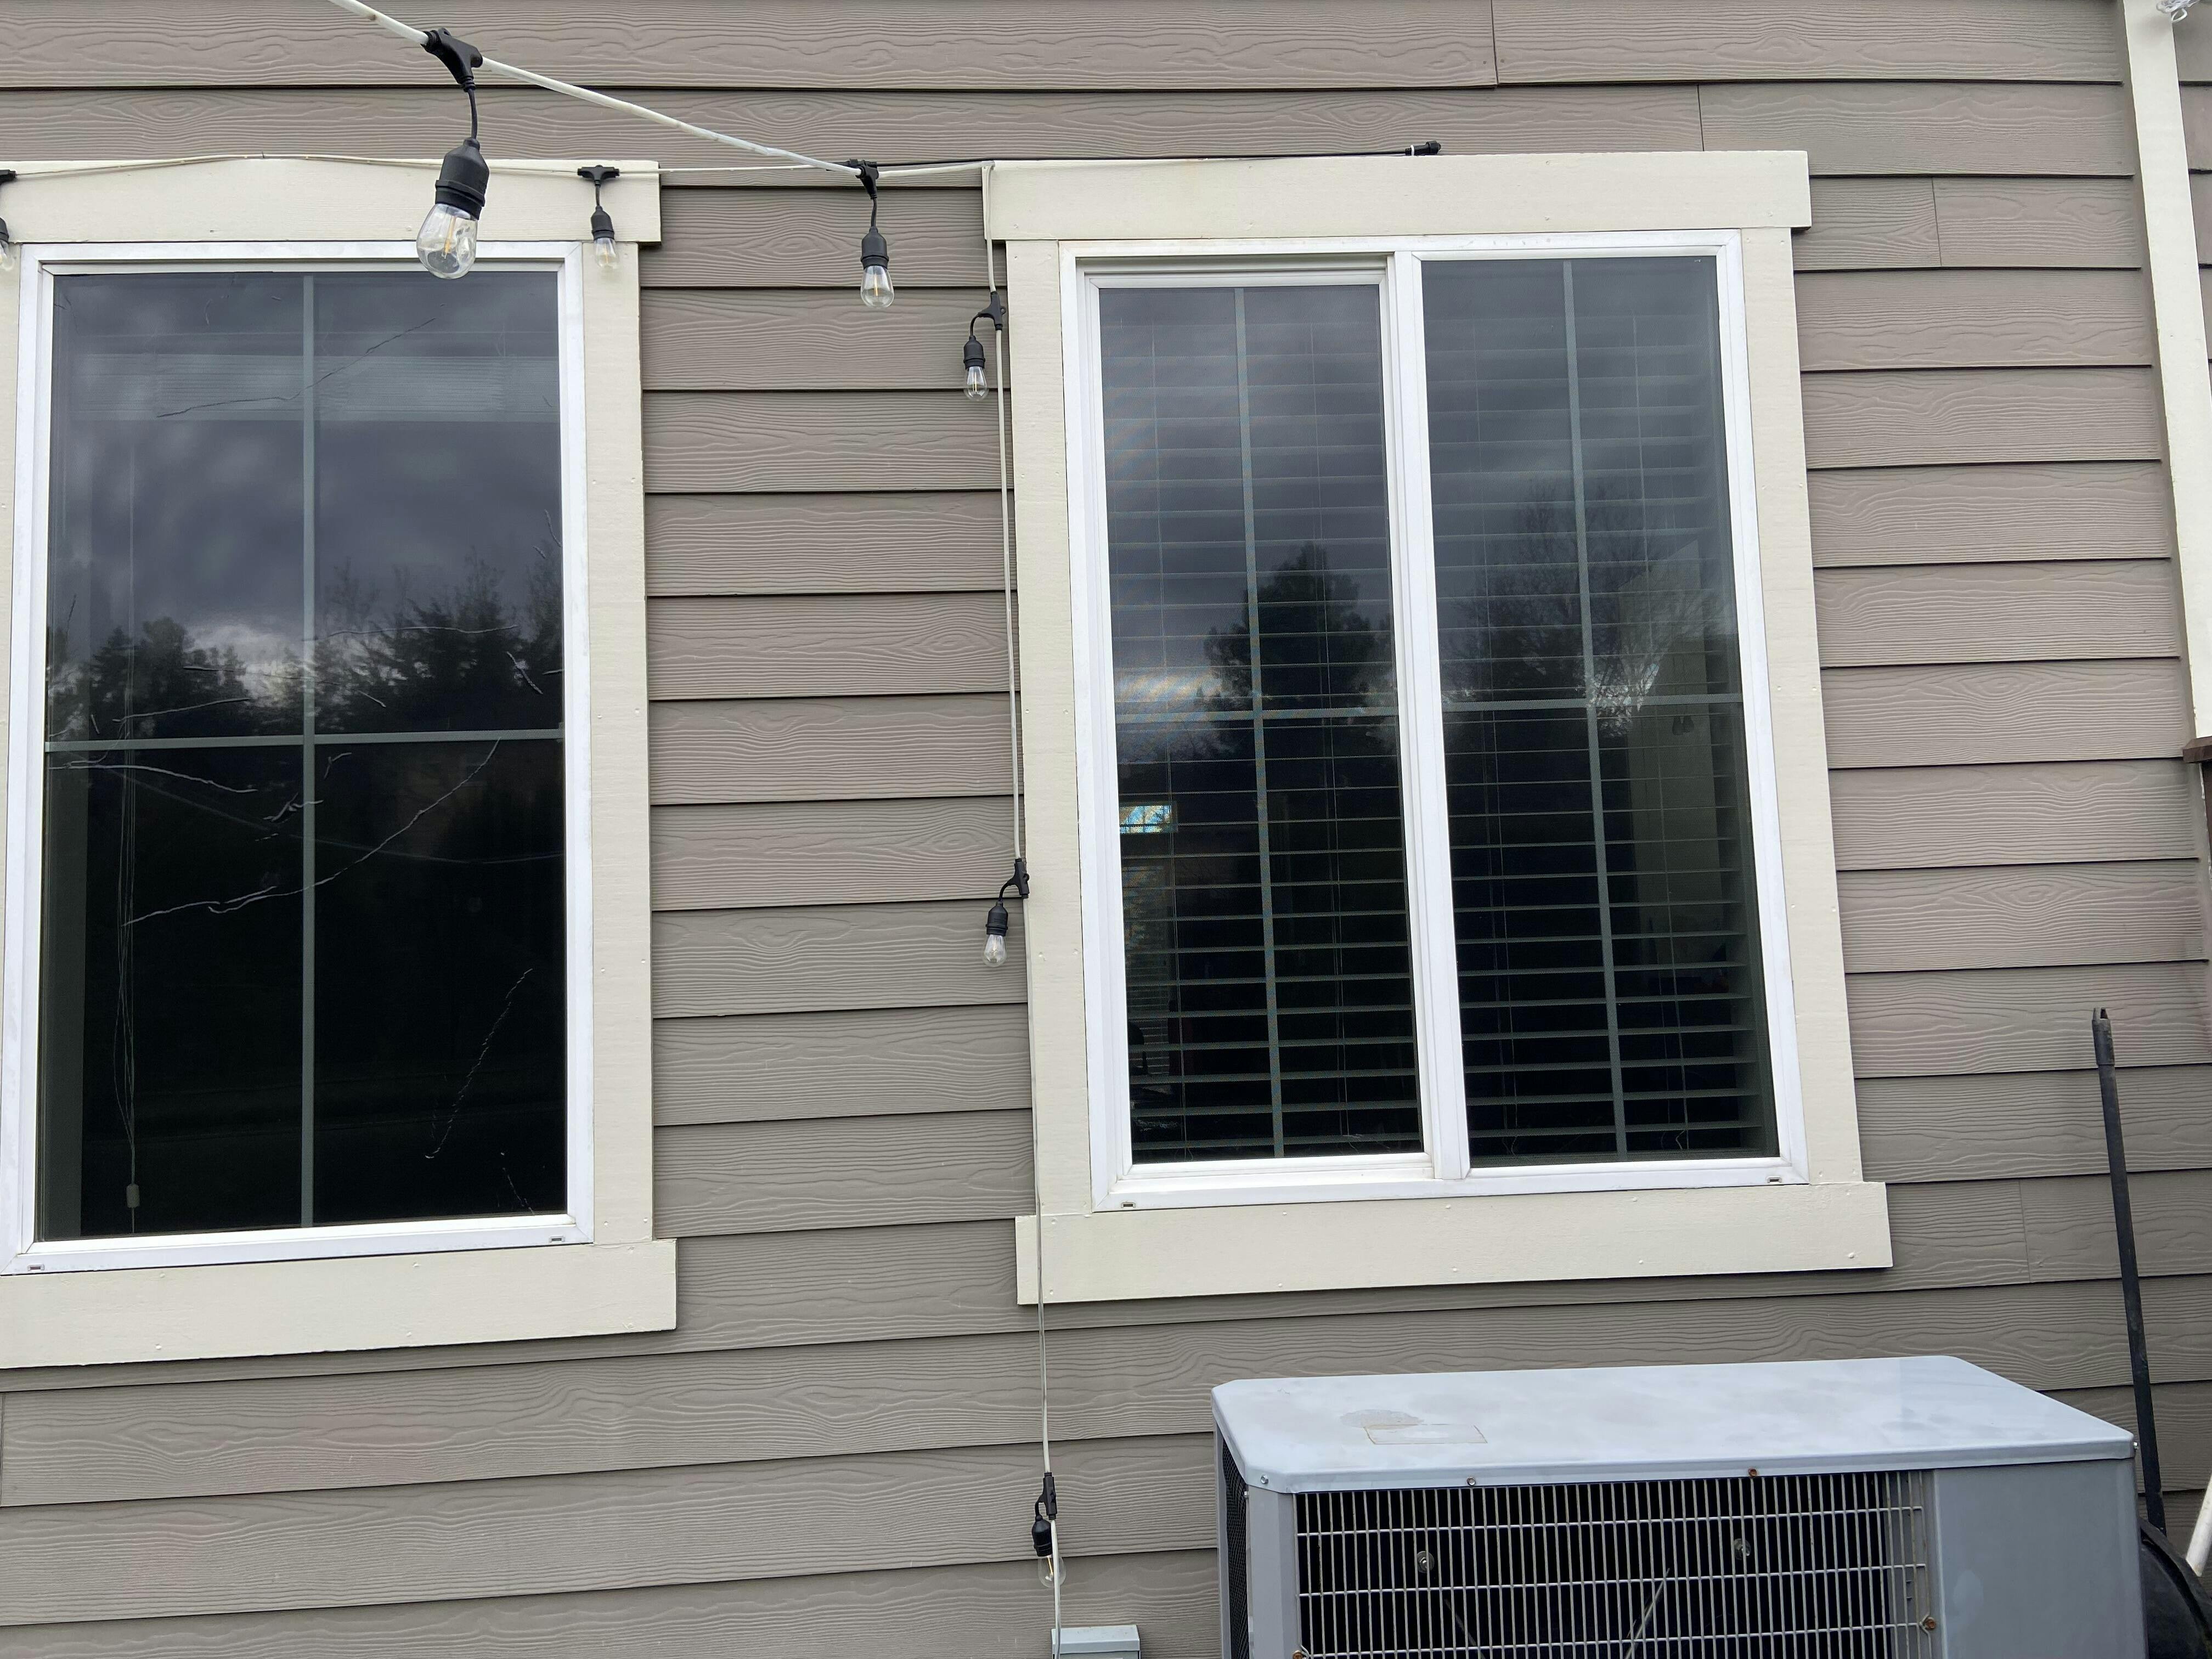
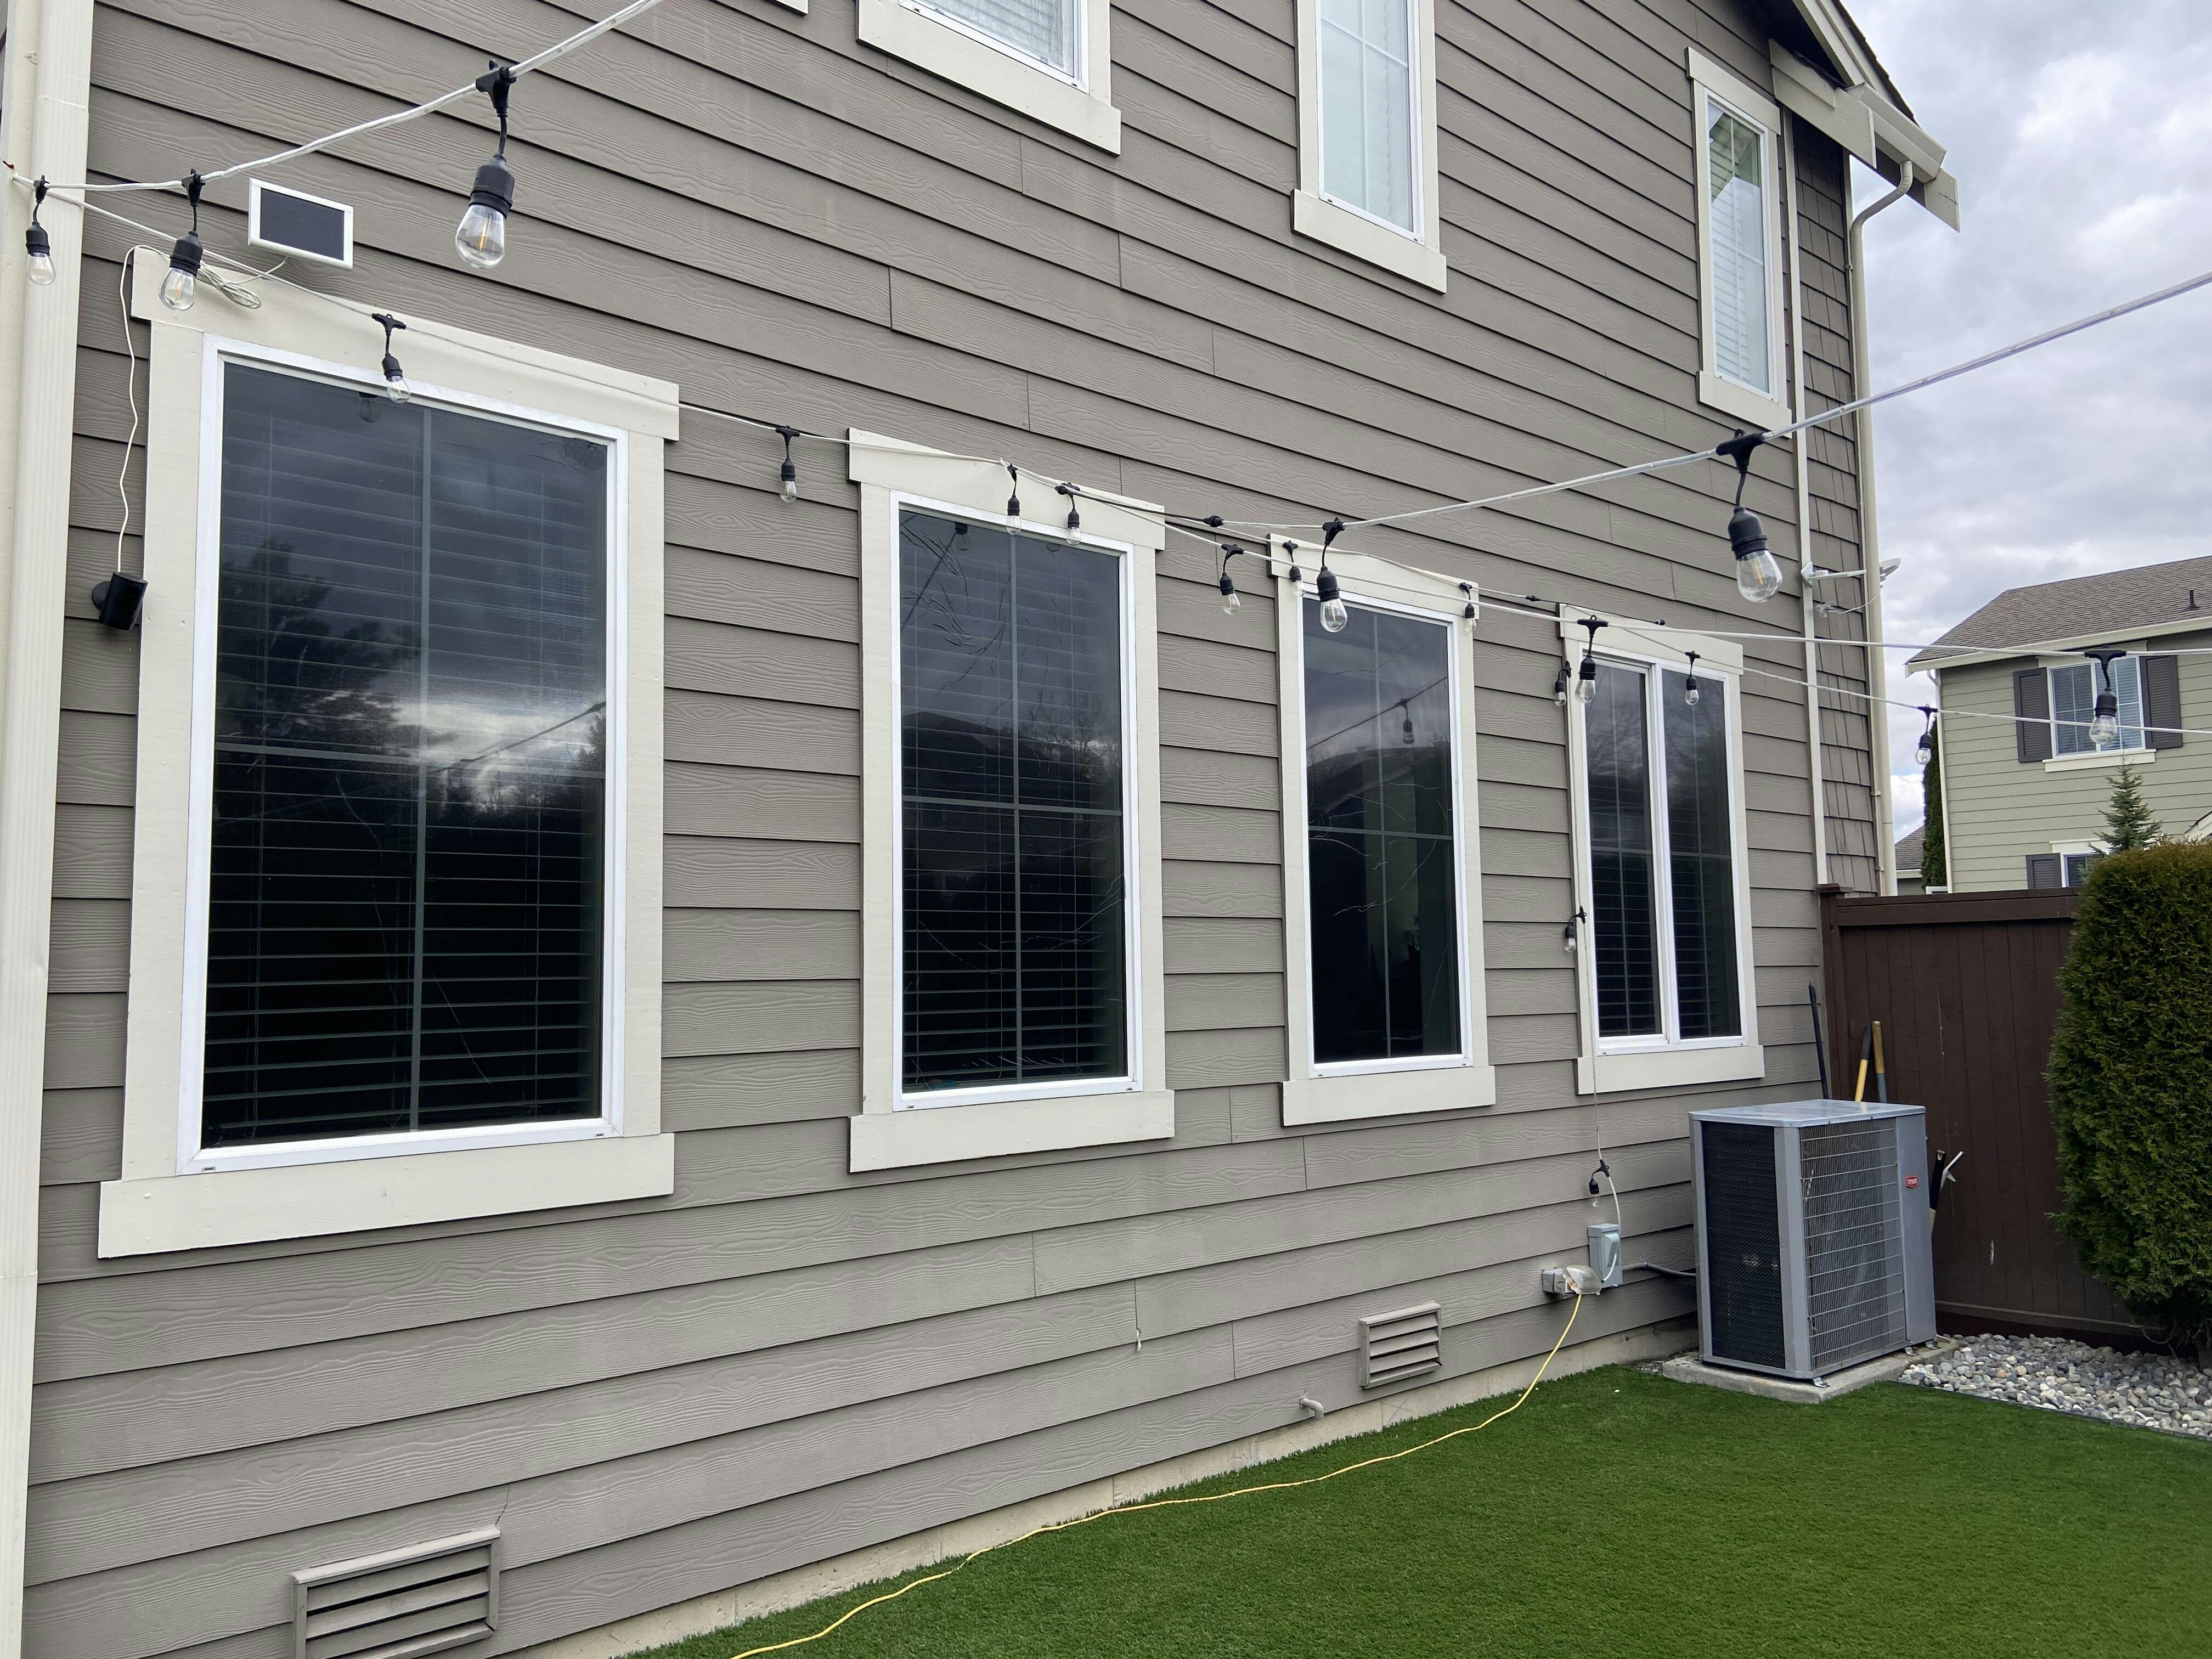
Before diving into the installation process, it's crucial to understand why window film is essential for protecting your property. Our homes and outdoor spaces are constantly exposed to the sun's harsh rays, leading to the melting and warping of artificial turf, vinyl siding, and even car moldings. As detailed in our blog post "Why Window Reflections Melt Turf and Siding and How Turf Shield Window Film Is the Solution", the reflection caused by windows can amplify the sun's heat, creating hot spots that cause damage. Turf Shield Window Film is designed to reduce this reflection, thereby protecting your property.
Choosing the Right Film for Your Needs
Turf Shield Window Film comes in various options, such as Clear, White, and Black. Each type serves a specific purpose and aesthetic preference. For a more detailed understanding, refer to our blog post "The Benefits of Non-Reflective Window Film: A Turf Shield Solution for Turf Melting and Siding Melting".
Step 1: Preparing for Installation
Before starting, ensure you have all the necessary tools. The Turf Shield Installation Kit includes everything you need for a smooth installation process. For a complete list of tools and preparatory steps, check out our guide "How to Prepare for Window Film Installation".
Step 2: Measuring and Cutting the Film
Measure the window where you will apply the film. Cut the film slightly larger than the window size for an easier application. For tips on measuring and cutting, visit "Window Film Installation: Measuring and Cutting Techniques".
Step 3: Applying the Film
Start by cleaning the window thoroughly. Then, use the wet application method, as described in our Turf Shield Installation Kit - Wet, for a bubble-free application.
Step 4: Smoothing Out the Film
Once the film is in place, use a squeegee to smooth out any bubbles and ensure proper adhesion. For more details on this step, read "Ensuring Smooth Application of Window Film".
Step 5: Curing and Maintenance
After installation, the film will need time to cure. Avoid touching or cleaning the film during this period. For maintenance tips, refer to our blog post "Maintaining Your Turf Shield Window Film for Longevity".
Conclusion
Installing your own Turf Shield Window Film is a straightforward process that can significantly protect your home and outdoor spaces. With the right tools and guidance, you can ensure your turf, siding, patio furniture, and car moldings are safe from the sun's damaging effects. For further reading and tips, explore our Turf Shield News Blog, where you'll find a wealth of information on protecting your property.